How to Build a Backyard Pond
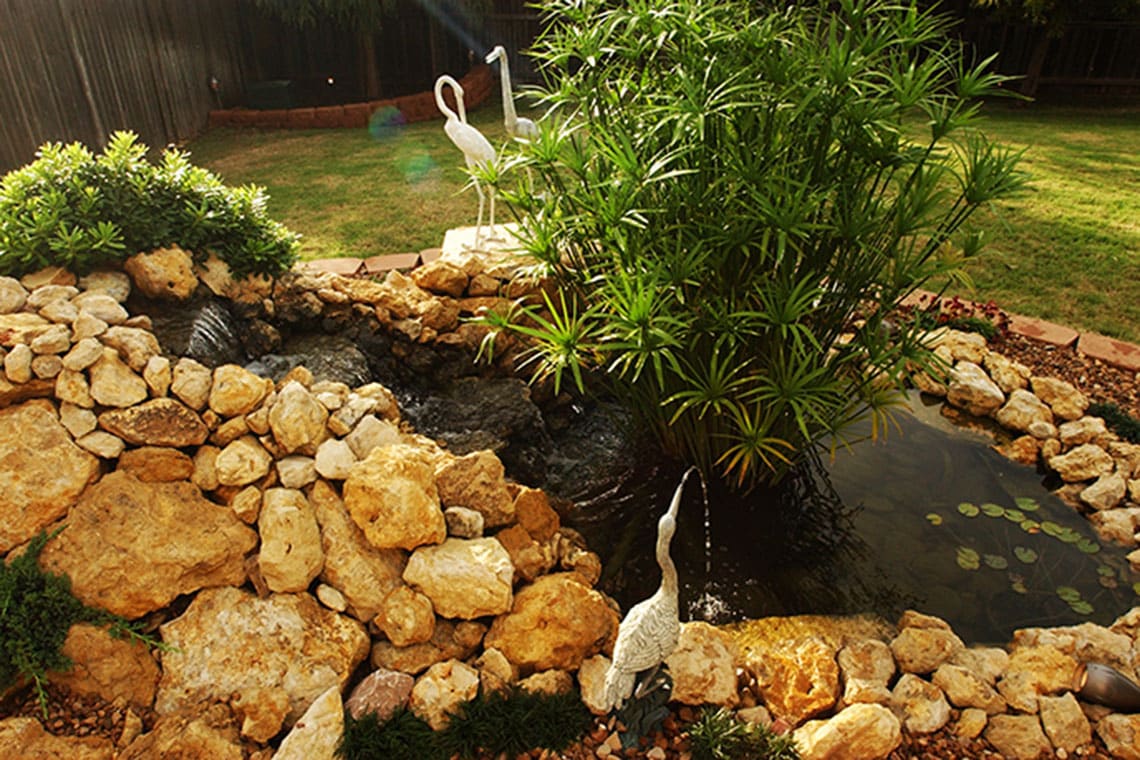
Building a backyard pond can be a great way to make your backyard more beautiful and relaxing. A pond can have many benefits, including reducing stress, improving mood, and providing a place for wildlife. Whatever your reasons for building a pond, we can help you to design & install the perfect water feature.
Building a pond is a lot easier than it might seem. There’s no need to hire a landscaper or contractor. Just follow the simple steps outlined in this guide, and your backyard will soon become the envy of your neighbors.
To complete this project, you will need the following items:
- Gloves
- Shovel
- Tape Measure
- Level Tool
- Rope
- Garden Hose
- Flat Stones and Pavers
- Pond Pump
- Pond Tubing
- Pond Liner
- Pond Underlayment (Optional)
- Pond Filter (Optional)
- Pond Light and Spitter (Optional)
- Aquatic Plants and Plant Basket (Optional)
- Water Treatments
Most of the pond products listed above can be found in our online catalog.
Step 1: Choose the Pond Location
The most important thing to consider when building a pond is the location. Position your pond above the lowest area of your yard. This will help you avoid problems with flooding and soil runoff. Falling leaves from trees will increase pond maintenance and can clog filters, so choose an open, level area. If you want to add water plants to your pond, make sure that your pond is positioned to receive four to six hours a day of direct sunlight.
Before you dig, check with your local building codes or ordinances that regulate backyard ponds and pools. Locate your buried utilities or plumbing. Also, avoid digging near tree roots which make digging difficult and can damage your trees. Ensure you can access your exterior GFCI outlet to power your pond pump and that your garden hose is within reach.
Step 2: Design Your Pond
For a beginner pond, we recommend starting with a simple design and adding more features as you go. Small ponds and water gardens are the easiest to build. A small sized pond is approximately the size of a bathtub which is the perfect size to maintain for a beginner pond.
Standard pond depths in most climates are 18 to 24 inches. It can become hazardous to fish if a pond is too shallow, especially in hot climates. Shallow ponds can heat up quickly, depleting oxygen from fish. If you live in a colder climate with severe winters, your pond should be deeper, from 48 to 60 inches, to avoid freezing.
Consider adding plant ledges to your pond design. There are many types of aquatic plants. They consist of floater plants, marginal plants, and submerged plants.
Floaters rest on the water’s surface with their roots dangling in the water. Duckweed is a very common floater plant and is available in several varieties. However, like most floaters, it can create dense mats on the pond surface if left unmanaged.
Marginal plants thrive in shallow water that is only a few inches deep. They grow in the margins or edges of ponds. A great option is the Creeping Jenny. It can grow in moist soil and water up to an inch deep. Its bright green color makes it an excellent filler between rocks along the pond edge.
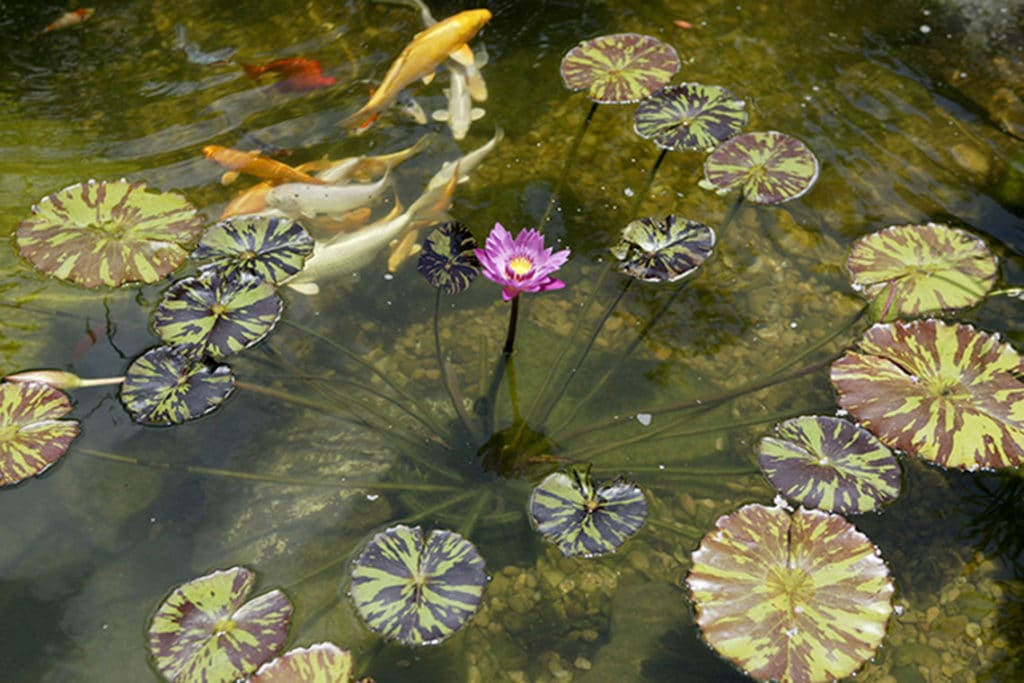
Water lilies and lotuses are traditional, submerged pond plants. Water lilies are vibrant and hardy plants. Some varieties can tolerate temperatures as cold as -40°F. Lotuses are also perennial plants. They feature highly fragrant, dramatic blooms. They thrive in warmer climates. Depending on the variety, they may survive freezing temperatures. Plant both perennials inside aquatic plant baskets, like Beckett’s 7071310 plant basket. Submerged plants can be placed in depths of 8 to 12 inches, and some can be planted even deeper.
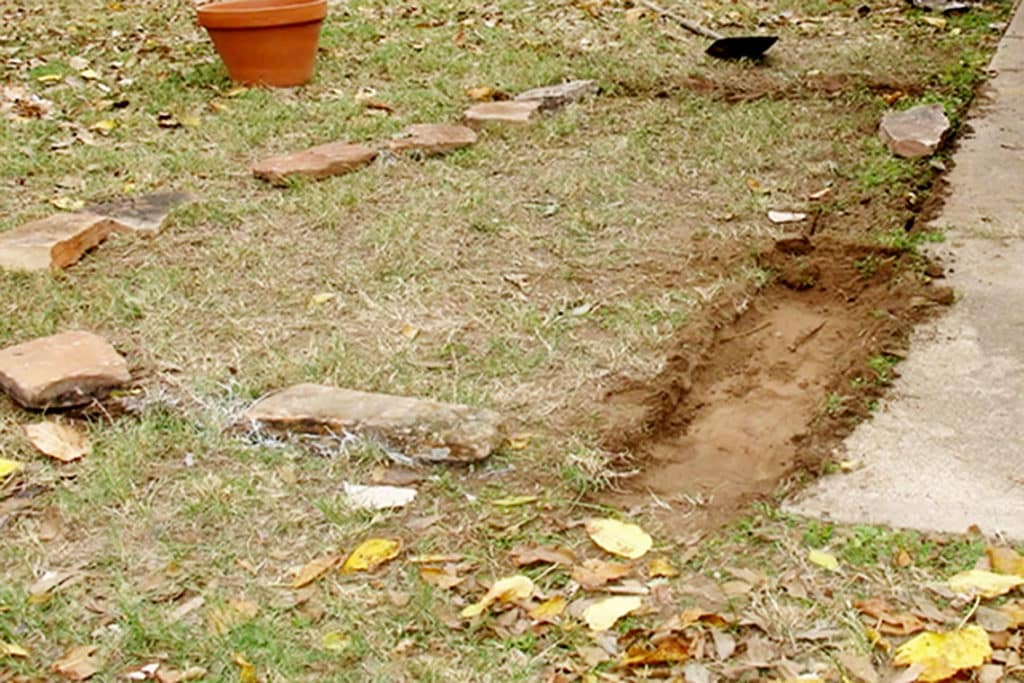
Once you have decided on the design of your pond, use stones, rope, or a garden hose to lay out the shape.
Step 3: Calculate the Liner Size, Pond Volume, and Pump Size
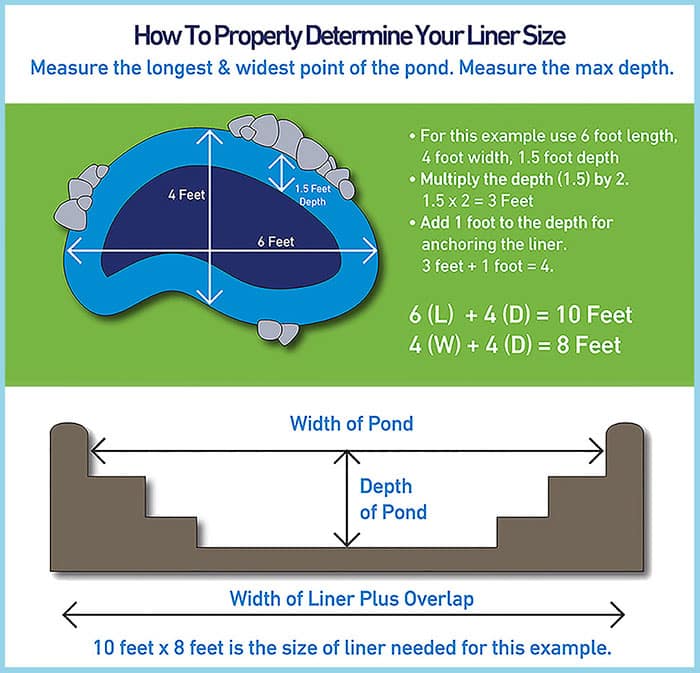
Calculate the liner size you will need for your pond. Refer to the chart below to determine the pond liner size. The Beckett 7216210 8 ft. x 10 ft. Black PVC Flexible Pond Liner is ideal for ponds up to 6 ft. x 4 ft. and 1.5 ft. deep.
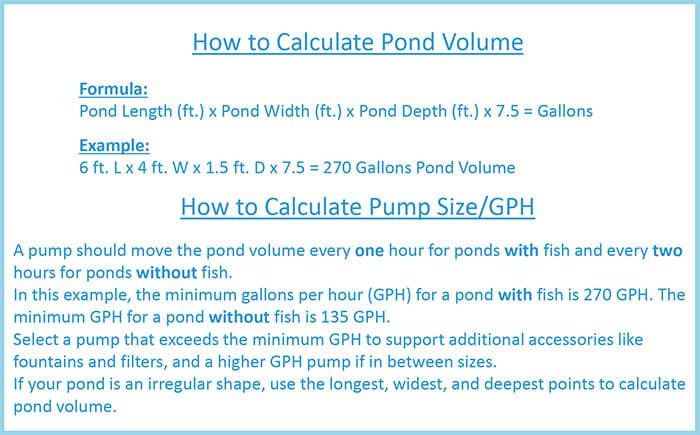
Understanding your pond’s volume will determine what size pump you need. Pond volume also assists in providing the proper dosing of water treatments and determines how many fish your pond can adequately support.
Step 4: Start Digging
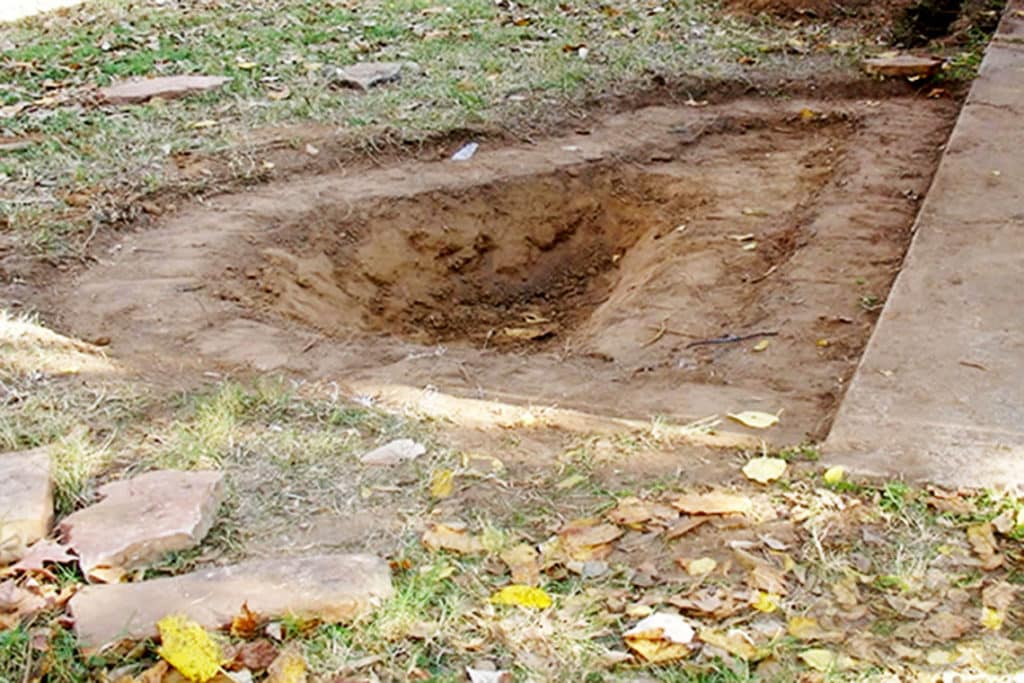
Use a shovel and begin digging out the grass and dirt to shape the perimeter of the pond. Be careful not to go too deep. The pond’s perimeter is the foundation for the rock ledge that will surround your pond. Select flat rocks that will hide the pond liner. The rock ledge should be around two to three inches deep to match the thickness of your stone and approximately one foot wide.
Next, begin digging out the inside of the pond. Remove any sharp rocks, roots, or debris that could puncture your pond liner. The deepest part should be at least 18 inches in ponds without fish and at least 2 feet deep for a pond with fish. Allow 1-inch additional depth for pond underlayment.
Dig out and define your plant ledges that are 8 to 12 inches deep, and determine which side of the pond will be the deepest. The deepest part of your pond is where you will place your pond pump, like this 7201310 500 GPH pump with fountain kit from Beckett. Use a level tool to check that the outer rock ledge is level to minimize low points with your pond liner.
Step 5: Add the Pond Underlayment
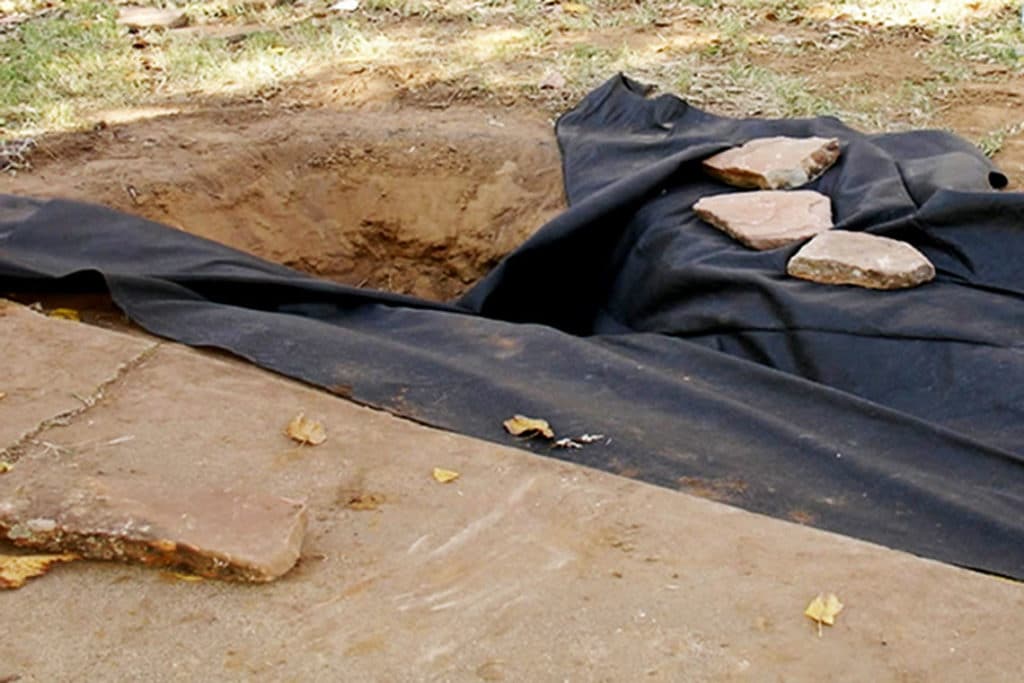
The Beckett 7202510 pond underlayment protects pond liners from sharp rocks, gravel, and tree roots, extending the life of your pond liner.
Lay the underlayment into the pond, starting from the center of the pond and working outward. No seaming is required. Overlap the underlayment’s edges, covering areas with roots or sharp stones that may puncture your liner.
Step 6: Add the Pond Liner
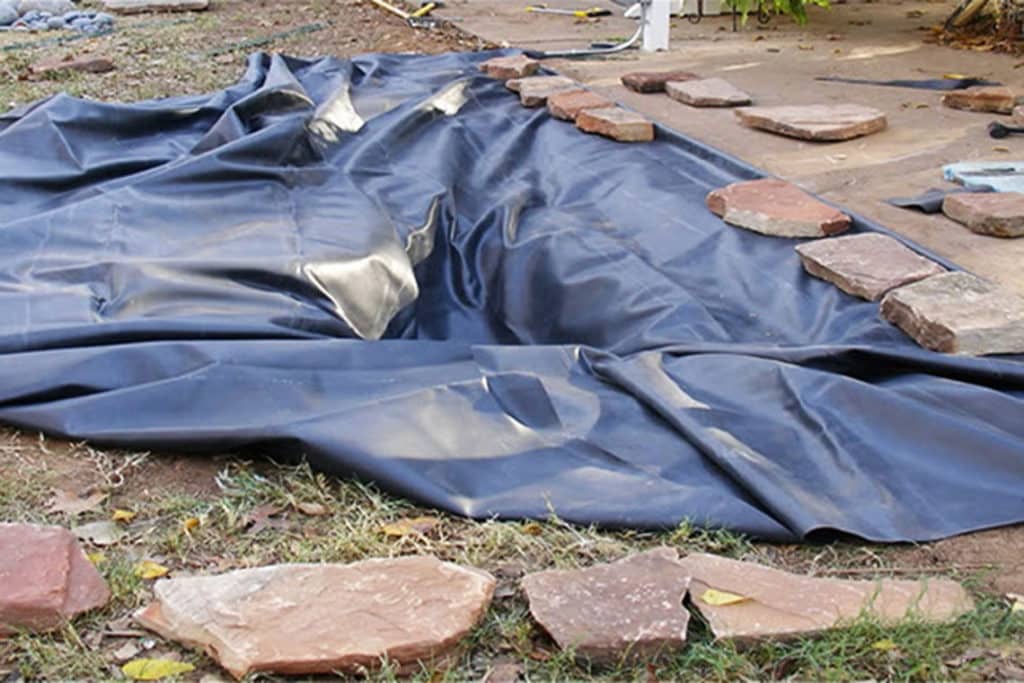
Next, lay the pond liner into the pond, starting from the center of the pond and working outward.
You will need to fold, press down and smooth the liner creases as you go. Tuck the liner seams in the corners as tight as possible to make them less visible.
Next, place the stones forming the rock ledge around your pond, carefully hiding the pond liner.
Step 7: Add Water, Pond Pump, and Filter
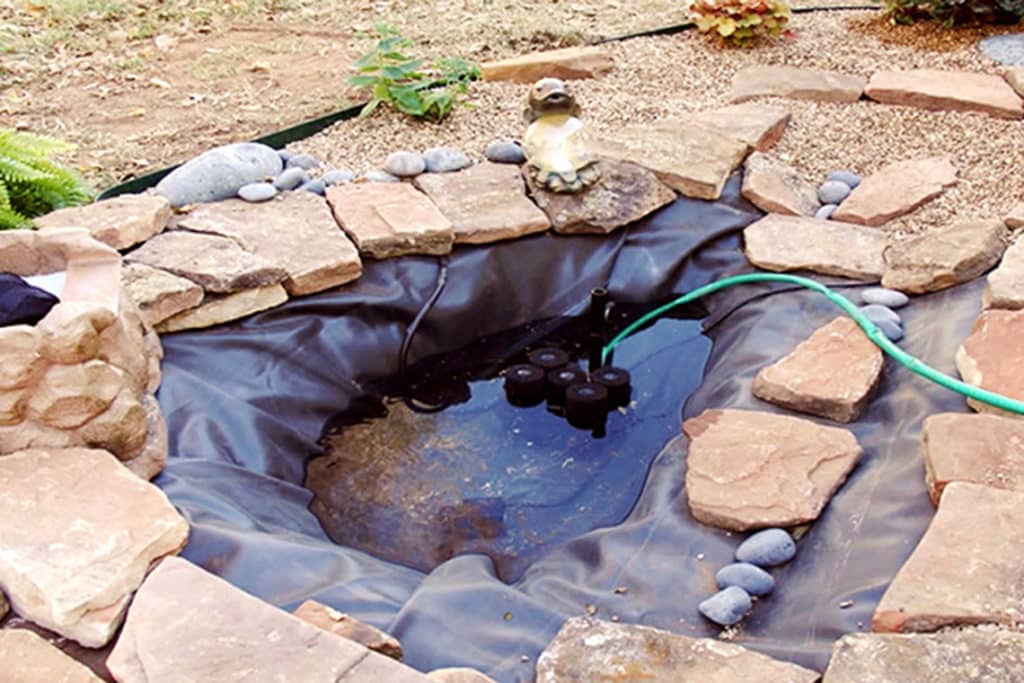
Begin slowly adding clean water from your garden hose to your pond. While the pond is filling up with water, adjust the liner edges. Pull the creases tight. This must be done before your pond is full of water. When the pond is half full, turn off the garden hose.
Place the pump and filters in the middle of your pond. Tuck the power cords and tubing within the liner creases to conceal them. Check out the 7202010 Beckett Bio Filter Pump Kit, which includes a pond pump, pond filter, and fountain nozzle together in one kit.
If you need to increase the height of your fountain, add a brick underneath it. Add more water from your garden hose, pulling the liner creases tight until the pond is full. Your pond pump must be completely submerged for proper operation. Trim off any excess liner from the edges of the pond, being careful not to trim too close to the pond edge.
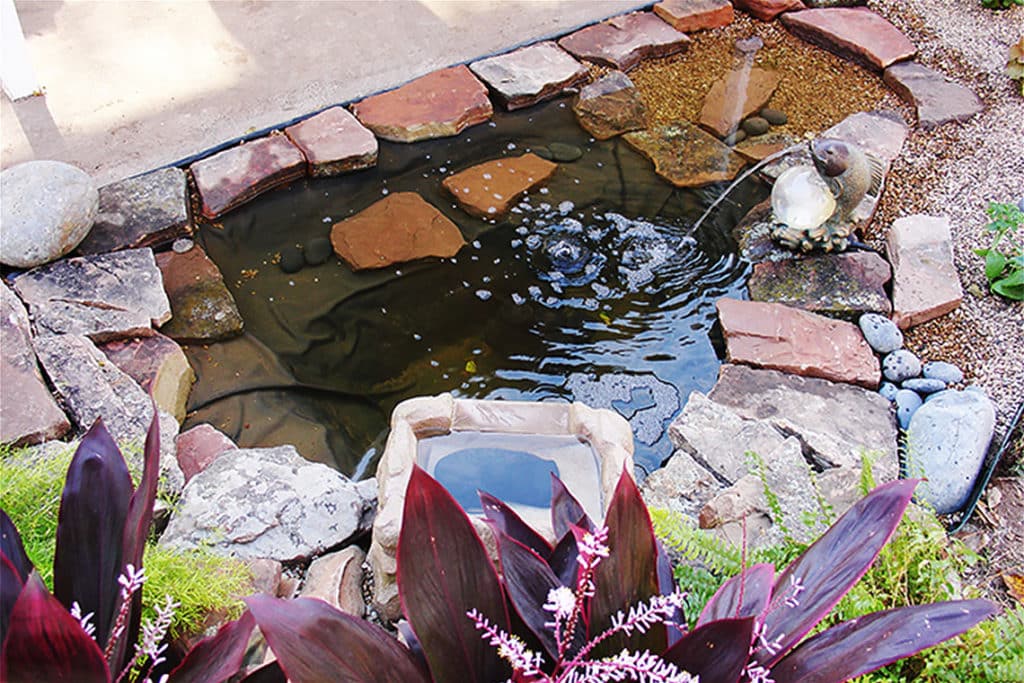
Finish off the pond’s edge with pavers, and fill in any gaps with dirt or pea size gravel to give your pond a more natural appearance. If any stones are unlevel, add a little dirt underneath them. Once complete, wet the stones and surrounding landscape to allow for settling.
Step 8: Add Pond Plants
When adding aquatic plants to your pond, you must first place your plants in a bucket of water. After fully saturated, you can place them inside a plant basket.
Add pea gravel or another porous material to the bottom of the basket. Then add the aquatic plant and regular potting soil to the basket like any ordinary plant. Top the surface off with additional pea gravel.
If you didn’t build plant ledges in your pond, you could use bricks or plastic containers as risers underneath the water. If your plant floats, add a heavy stone to anchor the plant for a few hours. Once the soil has been well-saturated, the plant will stay in place.
Step 9: Add Pond Accessories
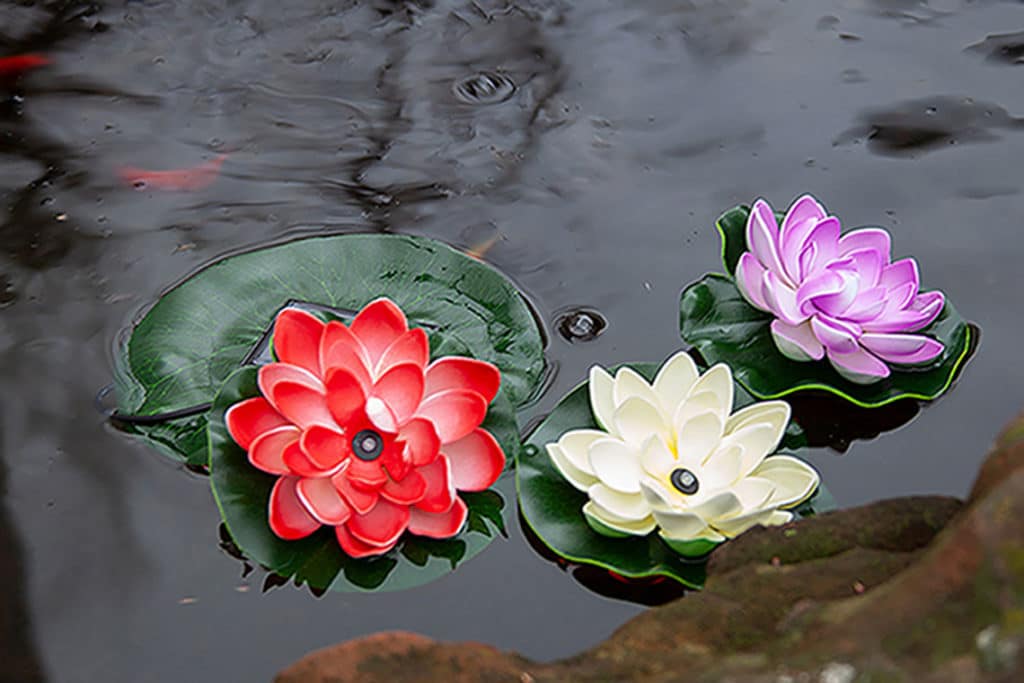
Add accessories to your new pond, like Beckett’s 7216710 solar LED lilly pad lights and pond spitters. Beckett’s 7219310 lily pad water cascade spitter adds the perfect decorative accent to any pond.
Step 10: Add Pond Water Treatments
The last step to a successful pond build is adding preventative treatments to keep your pond clean and clear. Add the Beckett 7208710 3-in-1 pond water maintenance kit to your pond with or without fish.
Each packet contains a chlorine/chloramine remover, a sludge remover with barley, and a pond clarifier. When used regularly, this water treatment will help to reduce sludge, prevent algae, and keeps water clear.
This is a necessary water treatment if you plan on adding fish to your pond, as it removes chlorine, chloramines, and heavy metals that are harmful to fish. After this treatment, you will need to run your pond for at least two weeks before adding fish to stabilize the water.
You can also add the Beckett 7304910 Beneficial Bacteria that will kick start your pond to grow healthy bacteria colonies needed for a balanced ecosystem.
With the proper planning, you can design and build a pond that introduces the beauty of nature into your yard. Don’t hesitate to contact our Customer Service Team for further assistance with your water gardening needs.
